Protecting Your Board: Essential Tips For Surfboard Maintenance
Introduction And Waxing Your Surfboard
A surfboard isn't just a tool; it's a partner in your oceanic adventures, a bridge connecting you to the waves that dance along the coast. For many surfers, their surfboard is an extension of themselves, embodying the thrill of riding the perfect wave. Therefore, maintaining this precious piece of equipment is essential to ensuring its durability and optimal performance. At Surf East, we understand the significance of surfboard care and want to share some essential tips to help you keep your board in top condition. Let's explore the art of maintaining a surfboard, starting with waxing.
Waxing Your Surfboard
Waxing isn't just about aesthetics; it's essential for grip, stability, and maneuverability on the waves. A well-waxed board will stick to your feet like glue, giving you the confidence to perform any maneuver with ease. Here’s how to wax your surfboard like a pro:
1. Choose The Right Wax:
Warm Water Wax: If you surf in tropical waters where temperatures soar above 70°F (21°C), use warm water wax. It's softer and more pliable, offering a sticky grip even in balmy conditions.
Cool Water Wax: For water temperatures between 58°F and 68°F (14°C to 20°C), this wax strikes a balance between hardness and stickiness.
Cold Water Wax: For those braving icy waters below 58°F (14°C), a hard, less sticky wax is best. It maintains grip without melting away in cold temperatures.
2. Application Technique:
Preparation: Make sure your board is clean and dry before waxing. Old wax should be scraped off entirely using a wax comb or a similar tool.
Base Coat: Some surfers prefer using a base coat wax for extra adhesion, especially in warmer waters. This coat serves as a foundation for the softer topcoat wax.
Top Coat: Apply the chosen topcoat wax using small, circular motions, starting from the nose and moving towards the tail. Pay special attention to the standing area, ensuring an even layer. The goal is to create a textured surface that enhances grip.
Reapply Regularly: It's essential to reapply wax after each session, especially if you notice bald spots. Depending on how often you surf, you might need to re-wax weekly or even daily.
With the right wax and a solid application technique, your board will be ready to tackle the waves, offering the grip needed for executing tricks and maneuvers.
Cleaning And Storing Your Surfboard
Your surfboard’s journey doesn't end when the waves calm and you step off the sand. Proper care between sessions is crucial to extending the life of your board. A well-maintained surfboard isn't just about aesthetics; it’s about ensuring your board retains its strength, flexibility, and buoyancy. The second step in our surfboard maintenance guide delves into the essentials of cleaning and storing your board effectively.
Cleaning Your Surfboard
Salt, sand, and wax residues can degrade the quality of your board over time if not removed promptly. The following steps will help you keep your board clean and in good condition:
1. Rinse After Every Surf:
After each session, rinse your board thoroughly with fresh water to remove salt and sand. Salt, especially, is corrosive and can deteriorate your board's resin, while sand can scratch the surface.
2. Gentle Cleaning:
Use a soft cloth or sponge to gently clean your board's surface. Avoid abrasive materials like scouring pads, which could scratch the finish. If your board has stubborn dirt or stains, a mild detergent solution can help, but ensure it's thoroughly rinsed off afterward.
3. Remove Old Wax:
Regularly strip away old wax to keep your board in optimal condition. Use a wax comb or a plastic scraper to remove most of the wax, and then apply a wax remover or use a cloth dipped in warm water to clean off the residue.
Storing Your Surfboard
Proper storage is key to preserving your surfboard’s longevity. Here’s how to store your board to keep it in great shape:
1. Avoid Direct Sunlight:
Prolonged exposure to sunlight can cause your board’s resin to yellow and degrade over time. Always store your board in a cool, shaded place to prevent UV damage.
2. Keep It Dry:
Ensure your board is completely dry before storing it. Excess moisture can seep into minor cracks or dings, leading to delamination or other structural issues.
3. Use a Surfboard Bag or Sock:
For extra protection, store your board in a surfboard bag or sock. These help shield it from scratches and minor dings while also providing a barrier against dust and pests. A bag with thermal protection is especially useful in warmer climates.
4. Avoid Leaning Against Hard Surfaces:
Standing your board against a hard surface can cause pressure dings over time. Instead, use a surfboard rack or wall-mounted storage system that distributes the weight evenly.
5. Periodic Inspection:
Occasionally, inspect your board for any damage or wear, even if you haven’t used it recently. Addressing issues early can prevent them from worsening.
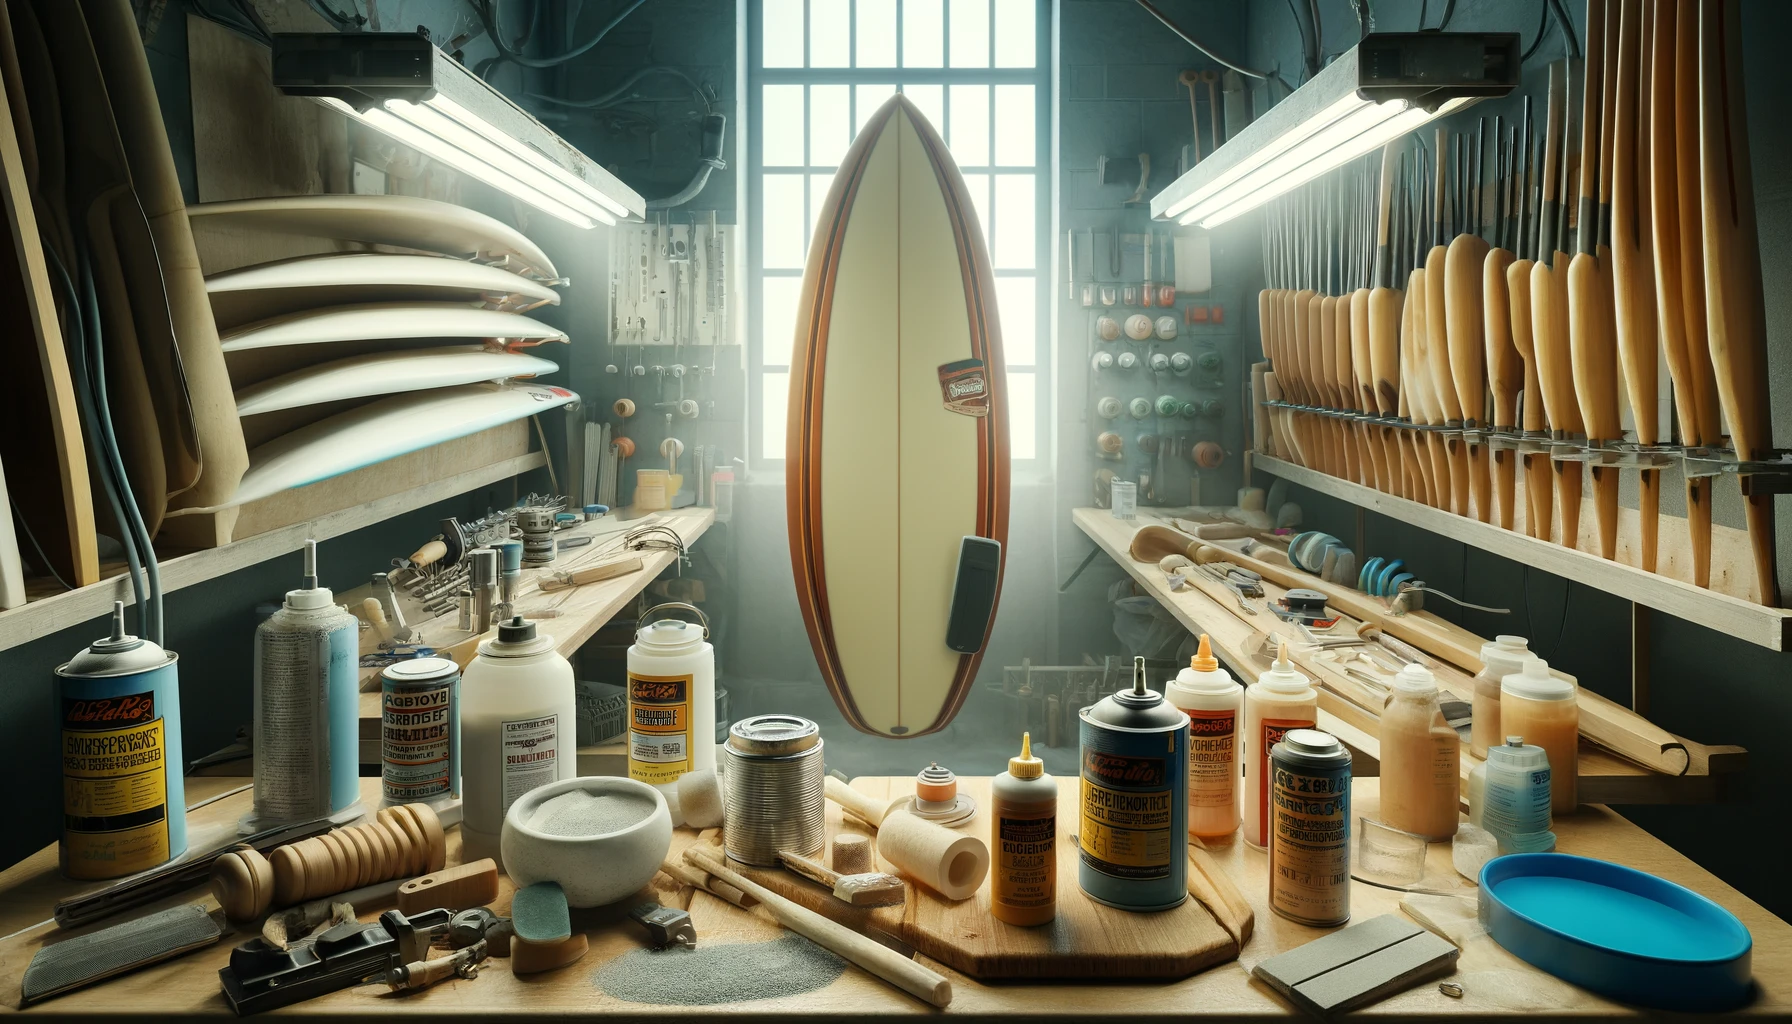
Repairing Dings And Cracks
No matter how carefully you handle your surfboard, dings and cracks are inevitable. These minor damages can worsen over time, especially if water seeps into the foam core, compromising the board’s structural integrity. To maintain the performance and longevity of your board, it's crucial to address these issues promptly. Let’s explore some essential tips for repairing dings and cracks on your surfboard.
Minor Ding Repair
Minor dings are small, surface-level damages that typically don’t penetrate through the board. Here’s how to repair them:
1. Clean the Affected Area:
Use rubbing alcohol to clean the damaged area. This removes any dirt or debris that could interfere with the repair and ensures better adhesion.
2. Sand the Surface:
Lightly sand the dinged area with fine-grit sandpaper to roughen up the surface. This will help the resin adhere more effectively.
3. Apply Epoxy Resin:
For epoxy surfboards, use an epoxy resin, and for traditional fiberglass boards, use polyester resin. Apply a thin layer of resin over the ding using a putty knife or another flat tool. Make sure the resin is evenly spread, covering the entire damaged area.
4. Let It Cure:
Allow the resin to cure as per the manufacturer’s instructions. Curing times may vary based on the resin type and environmental conditions, but generally, a minimum of 24 hours is needed for a complete cure.
5. Sand and Finish:
After the resin has cured, sand the repaired area until it's flush with the rest of the board’s surface. For aesthetics, you can paint or tint the repair to match the board.
Repairing Cracks
Cracks are more severe than dings, often indicating deeper damage to the board’s structure. Here’s how to handle them:
1. Assess the Damage:
Determine the depth and length of the crack. If it's extensive or you notice water inside the board, it’s best to consult a professional repair shop.
2. Clean and Dry the Area:
Remove any moisture trapped within the crack by leaving the board in a dry area for several days or using a hairdryer on low heat.
3. Sand the Edges:
Sand around the crack to create a rough surface that will help the resin bond more effectively.
4. Apply Resin and Cloth:
For deeper cracks, it’s advisable to use fiberglass cloth along with resin. Apply a layer of resin, place the fiberglass cloth over the crack, and then add another layer of resin on top. Smooth out any air bubbles to ensure a strong bond.
5. Let It Cure:
Allow the repair to cure fully. For a more robust repair, you might need multiple layers of resin and fiberglass cloth.
6. Sand and Finish:
Once cured, sand the repaired area and apply a final coat of resin for a smooth finish. Matching the color of the repair with the rest of the board will give it a more seamless appearance.
Regular maintenance and prompt repairs are the keys to ensuring your surfboard remains a reliable companion on the waves. By following the waxing, cleaning, storing, and repair tips outlined in this guide, you’ll be able to extend the life of your surfboard and enjoy countless sessions in the water. Treat your board with care, and it will reward you with many epic rides for years to come. Remember, every wave tells a story, and your surfboard is the brush that paints it. Keep it in top condition, and let it carry you on your next adventure.